FlyRider - Your DYI eVTOL
The Dream of Flying
The dream of flying is probably as old as mankind itself, even Leonardo da Vinci tried to fulfill this dream - in the 15th century! Meanwhile airplanes have changed the way we live and cut travel time to faraway destinations considerably. But we are still missing the realization of a century- old dream - the personal aircraft! Just step out the door, start the engine and take off...

Challenge VTOL
Small planes are not a new invention. But unlike your car you can't use them from home since they cannot take off and land in your garden or at your parking lot. Therefore the key to success for any personal aircraft are VTOL capabilities: VTOL stands for Vertical TakeOff and Landing and allows to operate an aircraft from (almost) any place. To solve this problem, the helicopter was invented. Until today helicopters are by far the most capable VTOL aircrafts but quite complex, expensive to maintain and hard to fly.
So, what is the point of FlyRider?
The idea behind FlyRider is not to revolutionize aviation. Neither the available resources
nor the concept of the aircraft suit a commercial use. The idea behind FlyRider is
to develop an eVTOL flying device that is as simple enough that everyone can
use it as personal aircraft. This website is intended to be a helping guide for
anyone who wants to build an DIY eVTOL aircraft.

eVTOL - A Revolution In Aviation?
An electric vertical take-off and landing (eVTOL) aircraft is a VTOL variety that uses 100% electric power. In recent years, hundreds of companies dealing with eVTOL technology have emerged around the world: XPeng, Ehang, Archer, Joby Aviation, Jetson and Lilium to name just a few important ones. Billions are currently being invested in the development and certification of eVTOL aircrafts.
K.I.S.S. - keep it simple
The most important principle in the FlyRider concept is K.I.S.S: "Keep it simple, stupid".
In this case: simple and cheap. All materials used are available at low cost at the nearest hardware store:
basically FlyRider consists of 40mm square aluminum tubes and PVC round tubes. The PVC pipes cost next to nothing.
The required motors, propellers, batteries and controllers are definitely not cheap, but can be ordered on
the Internet without any problems.
Also very important: no special tools are required. Anyone who has a drill, a saw, a couple of screwdrivers
and a soldering iron can build a FlyRider.

"My conviction and my basic principle is that a man-carrying VTOL aircraft cannot be realized at an even lower price
than FlyRider!"
Stefan Hager

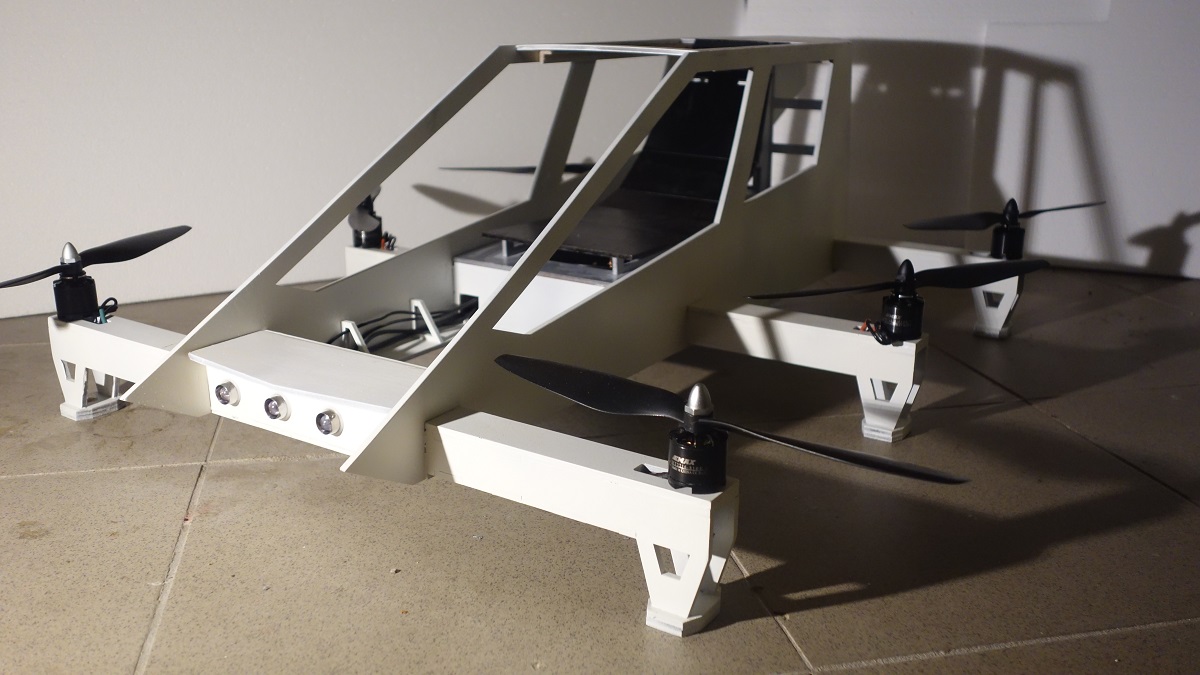
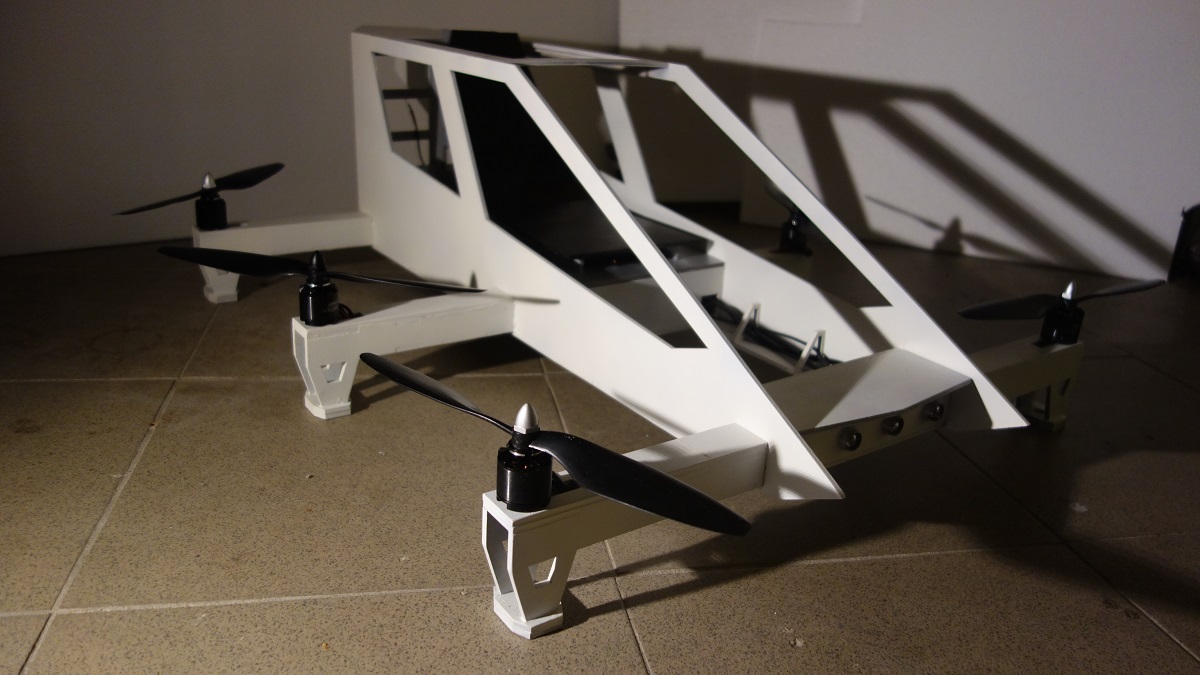
Small, light ...
- Just 2 meters long
- Only 2 meters wide
- 70 kg empty mass
... and simple
- Single seater only
- Simple flight control
- 100 % electric

        Dimensions:

        Length (without props)  : 2.0 m
        Width (without props)   : 2.0 m
        Prop diameter:          : 0.91 m (36 inch)
        Empty weight            : 70 kg
        Max. payload            : 90 kg
        MTOW                    : 160 kg
MAKERSPACE
page. There you will find comprehensive information about the planning and realization of the FlyRider project.