Samba Setup
Samba is a free software re-implementation of the SMB networking protocol. Samba provides file and print services for Windows clients and can integrate with a Windows Server domain, either as a Domain Controller (DC) or as a domain member. We will use Samba as a simple way to exchange files between the Rapbian OS and a Windows computer.
Installation
With the following steps we install samba, change to the user root and save the current Samba configuration:
sudo apt-get install samba samba-common
sudo su
cd /etc/samba
mv smb.conf smb.conf_orig
Configuration
Edit the file smb.conf an add the following settings:
[global] workgroup = WORKGROUP netbios name =security = user encrypt passwords = yes client min protocol = SMB2 client max protocol = SMB3 [pi] comment = "Shared drive for user pi" or whatever you want path = /home/shares/pi read only = no
Test the configuration:
testparm
Create the directory /home/shares/pi and set permissions to full permission for all users (or wahtever you want):
sudo mkdir -p /home/shares/pi
sudo chmod 777 /home/shares/pi
Create user "pi" for Samba (you have then to enter the password you want to use):
sudo smbpasswd -a pi
Restart Samba:
sudo service smbd restart
sudo service nmbd restartsud
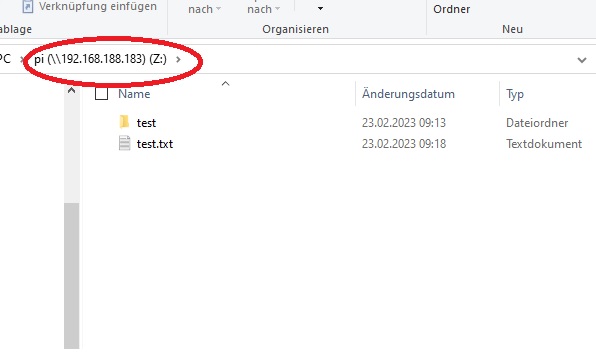
Usage
The configuration on the raspi is now finished, now the shared drive should also be available on Windows. To mount the drive on windows as net drive the command "net use" is used:
net use z: \\IP of your Raspi\pi /user:pi your samba passwort