Joystick with Arduino
Joysticks can be very handy for many applications like retro gaming, robot or robot-arm control,
remote controlling cars or drones.
The Analog Joystick is similar to two potentiometers connected together, one for the vertical
movement (y-axis) and other for the horizontal movement (x-axis).
The joystick also comes with a switch to trigger some event like to switch on / off a device.
But the best thing is: using a joystick with the Arduino is extremely easy!
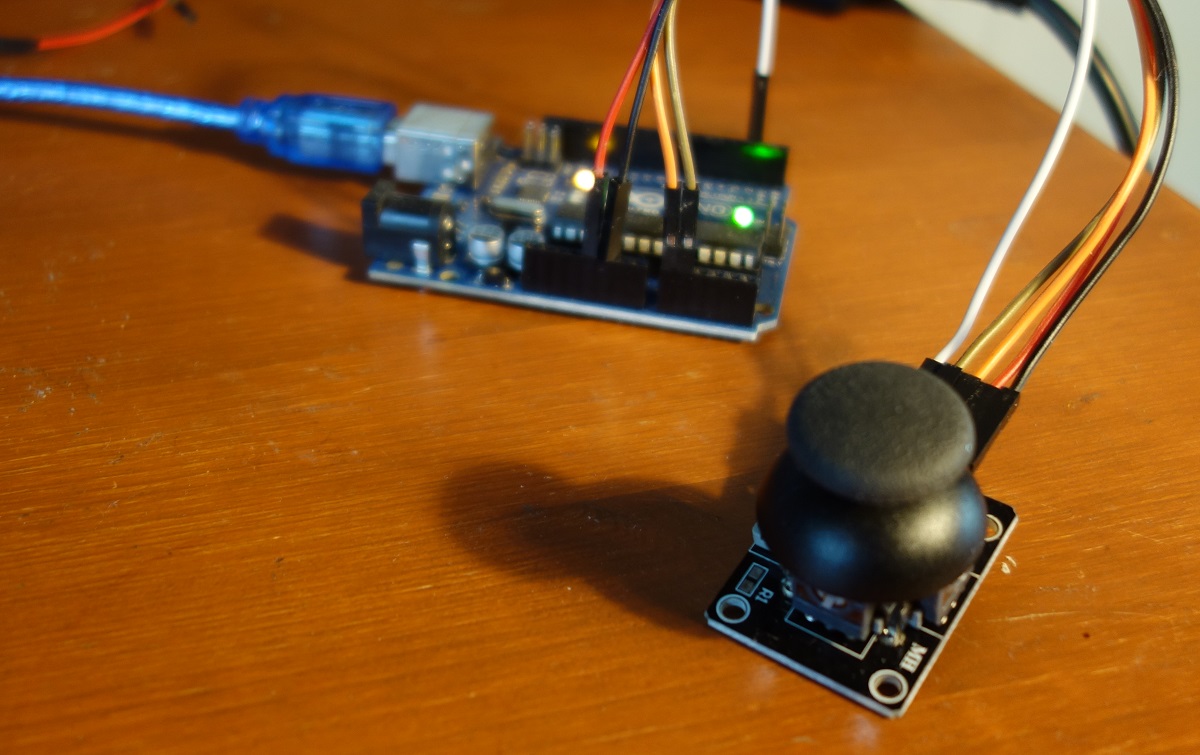
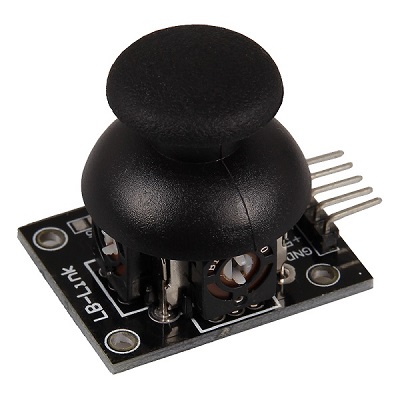
Required parts:
1 x Arduino Uno (or compatible)
1 x analog joystick like KY-023
5 x jumper cable male - female
How it works
First of all, you have to understand that a joystick gives analog values in the form of a voltage as input to the Arduino. The Arduino uses an analog-to-digital converter (ADC) to generate a digital value from the analog voltage signal. Since the Arduino Uno has an ADC resolution of 10 bits, the values on each analog channel can vary from 0 to 1023.
As long as the joystick is in a neutral position, the values for the x and y axis should be around 500. If the stick is moved on x axis from one end to the other, the x values will change from 0 to 1023 and the same happens when moved along the y axis.
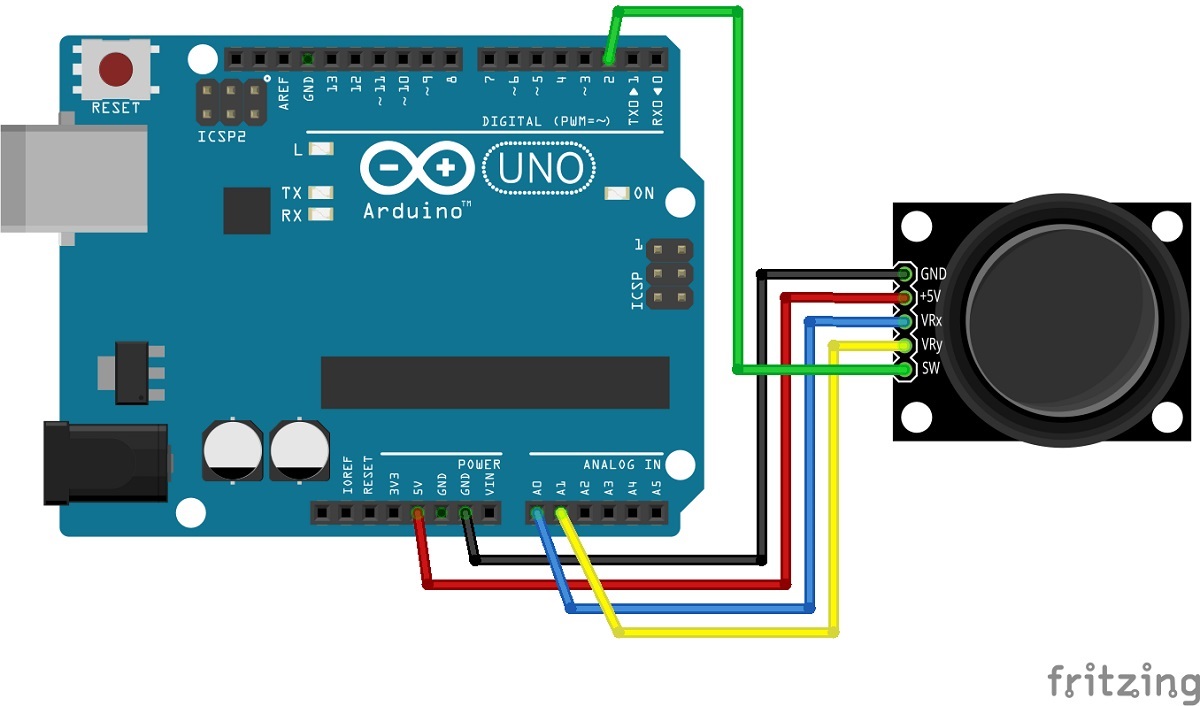
Wiring Diagram for Joystick
Arduino           KY-023
-----------------------
A0                 VRX
A1                 VRY
Pin 2              SW
5V                 +5V
GND                GND
Software for Joystick - Control
/* Arduino Joystick Tutorial
 * displays the x-axis and y-axis values to the serial monitor
 * writes "button pressed" if the button gets pressed
 * Stefan Hager 2022
 */


void setup()
{
   Serial.begin(9600);
   Serial.println("Joystick test program startet ...");
   pinMode(2, INPUT); // for the button
   digitalWrite(2, HIGH);  // set button pin to high -> signal is LOW when pressed
}

void loop()
{
  int button = 1;
  int xPos = analogRead(A0);  // read analog input pin A0
  int yPos = analogRead(A1);  // read analog input pin A1
  button = digitalRead(2);// button is on pin 2
  Serial.print("X: ");
  Serial.print(xPos);
  Serial.print("      Y: ");
  Serial.println(yPos);
  // button pressed -> signal low
  if(button == 0)
  {
    Serial.println("button pressed ...");
    digitalWrite(2, HIGH); // reset pin 2 to HIGH
  }
  delay(500);
}
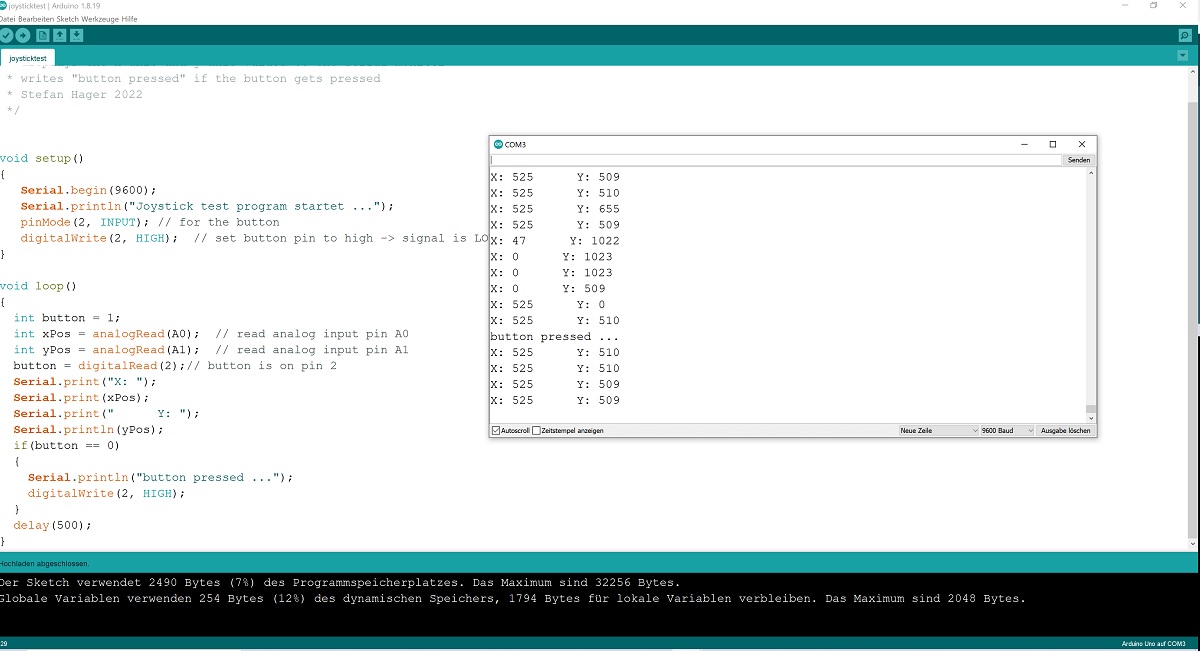
Running the Program
Start the program, move the joystcik and press the button. Look into the serial monitor of the Arduino IDE to see the resulting values.